Thinking of getting your vehicle wrapped? Congratulations, it’s a hugely exciting time! But while it’s tempting to think just of the wrap itself, there’s some prep work you need to do first. If you skip the car wrap prep, it can affect how long the work takes to complete. And if the dirt’s really bad, your wrapping team may have to clean it for you – potentially meaning an extra charge.
Follow this step-by-step guide to learn how to prepare a car or van for wrapping, and ensure it’s in the best shape possible for the big day.
1. Check for signs of damage
You’ll ideally have checked your car well before the agreed date. That said, minor scratches and dents aren’t a problem and can usually be wrapped over. Minor patches of rust can also be covered, but that’s just a temporary solution and you’ll still have the rust underneath. You can learn more about this topic by reading our guide on scuffs, dents and rust.
Tip: Don’t worry if the wrap is set for tomorrow and you’ve suddenly noticed a minor problem. Your wrap can still be applied, and it’ll still look good. In fact, a vehicle wrap is a great way to refresh your vehicle and protect the bodywork underneath. You can always tackle minor scuffs and dents later on.
2. Prepare the cleaning solution
You can mix water and non-abrasive dish soap to clean the dirt away. Alternatively, choose a non-wax car shampoo from a trusted name like Meguiar’s, Halfords, or Turtle Wax. If you follow the directions on the bottle, the cleaning solution will be pH balanced and kinder to your vehicle’s paintwork.
Avoid waxing or polishing your car, as this can stop the wrap from adhering properly. You don’t want to spend time forming a gorgeous shine, only to see it removed because the wrap won’t stick. You should also avoid all-in-one shampoo and wax solutions for the same reason.

3. Wash your vehicle 24 hours before wrapping
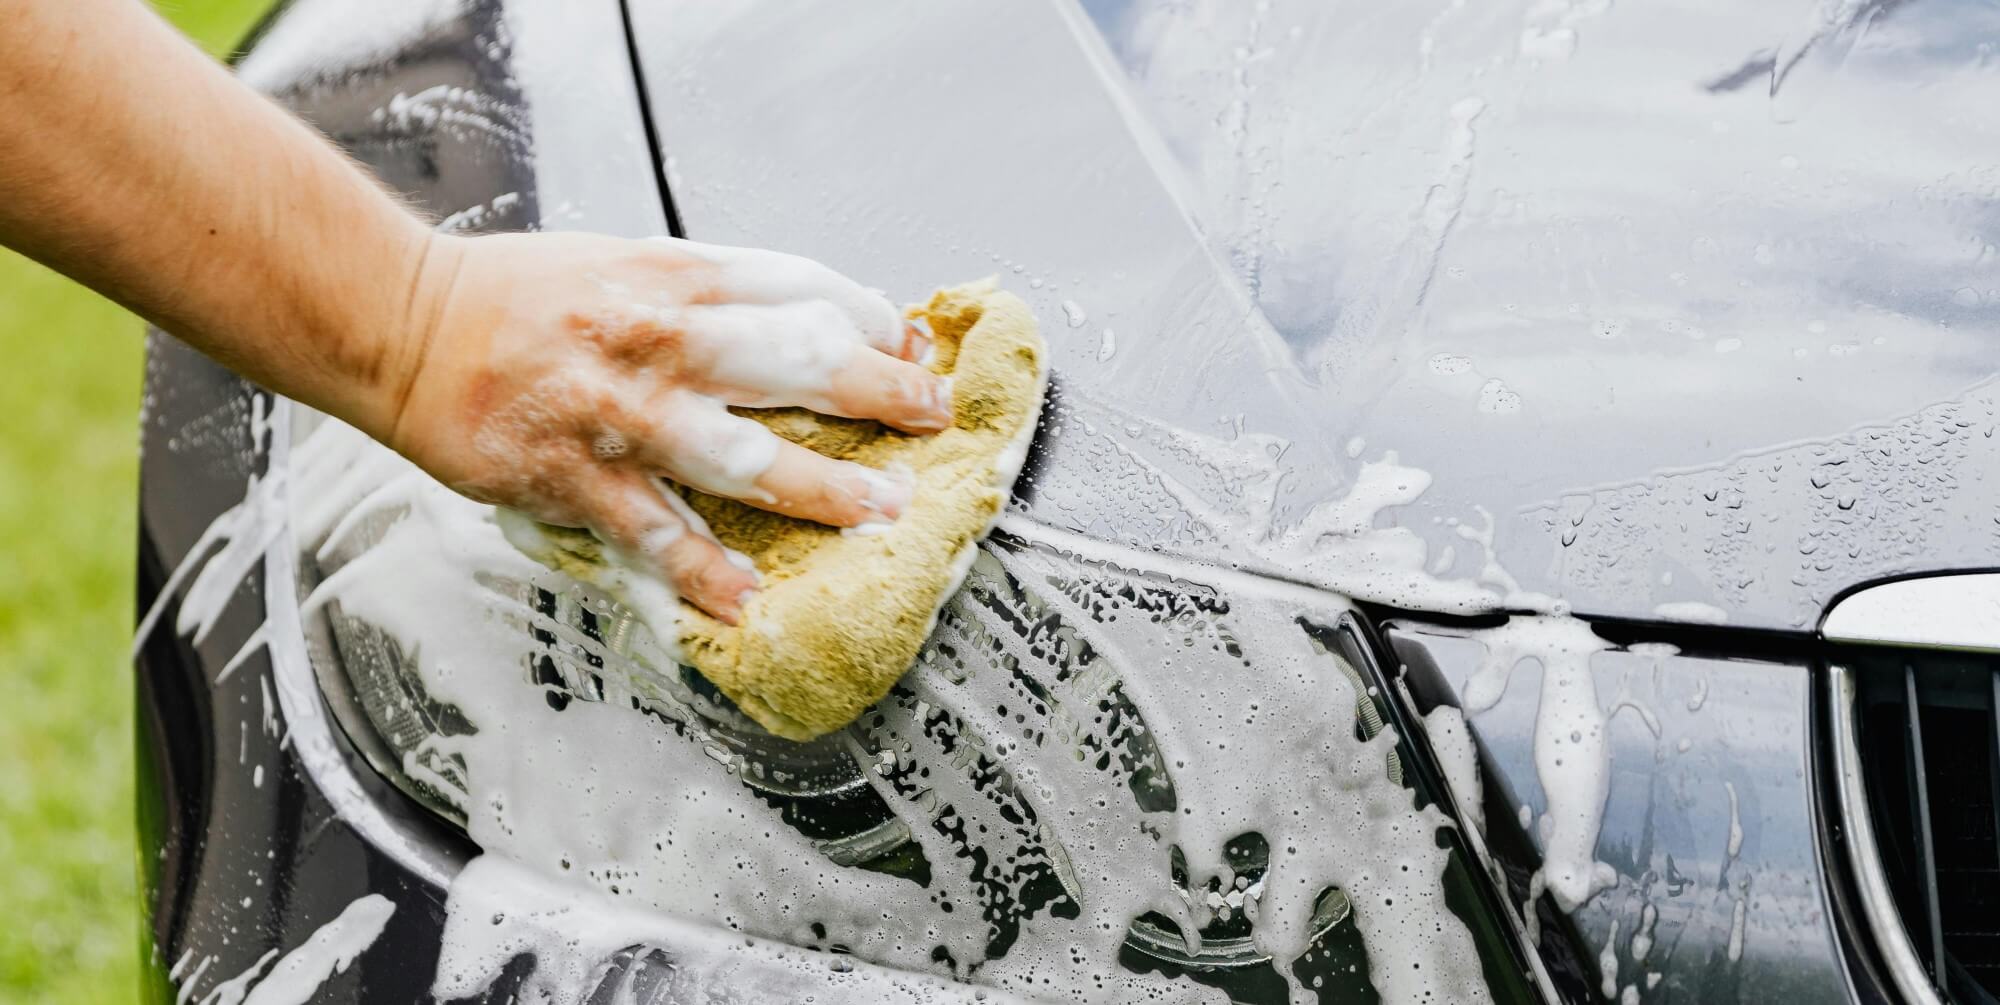
Using a scratch-free sponge or mitt, clean your vehicle from the top down. Wash the mirrors, windows, door seals, wheel arches, and under the bonnet. Even if you’re not getting a full wrap, your vehicle should be cleaned all over as part of the vinyl wrap prep. Be sure to clean the hubcaps too, as this will help stop dirt from kicking up on the day of the wrap.
Washing the exterior may sound obvious, but we’ve actually had vehicles show up to our premises caked in tar! It’s then taken half a day to prep the car or van for wrapping – causing the whole project to take longer than expected.
4. Give your vehicle time to dry
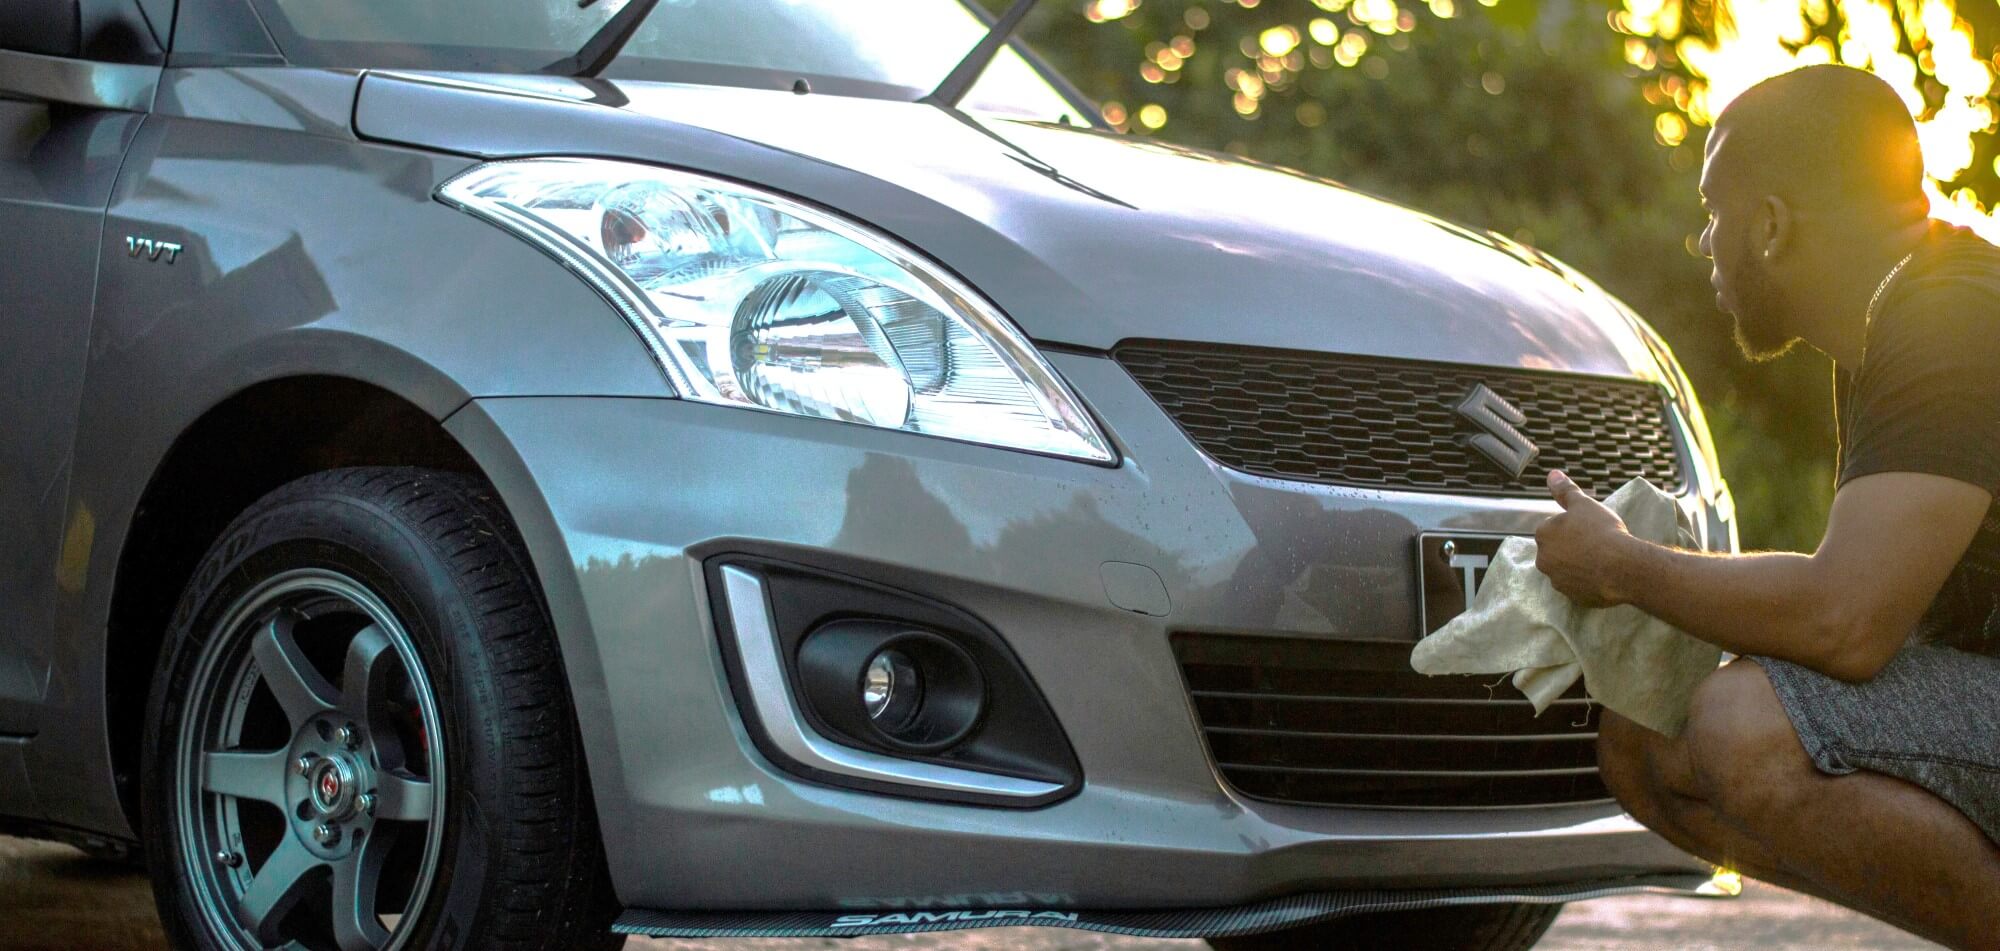
You can reduce drying time by going over your vehicle with a microfibre cloth. If you washed it 24 hours before wrapping, even hard-to-reach areas should have dried in time.
Don’t worry if it’s raining outside or your vehicle still feels a bit greasy once you’ve cleaned it. Bear in mind that a reliable wrap company should degrease key sections of your car or van before applying the wrap. At least, that’s what we do here at Raccoon!

Here are some extra car wrap preparation tips:
- Remove watches, jewellery and jackets that could ding the surface
- Jet washing is effective at the right pressure level (below 2,000 PSI)
- You can soak a rag in isopropyl alcohol to get rid of stubborn grease
- Pick a wrapping team who can apply your vinyl wrap indoors
- Take out any cash or important documents you might need
Don't forget about aftercare
With good van or car wrap prep, it’s time for the moment everyone loves – getting your vehicle wrapped! Once that’s done, we think you’ll be so thrilled with the wrap that you’ll want to keep it in great condition for as long as possible.
We at Raccoon have all the info you need to do just that. Click below for tips on wrap aftercare, and follow our advice to learn how to ensure your vehicle wrap looks smooth and vibrant well into the future.

